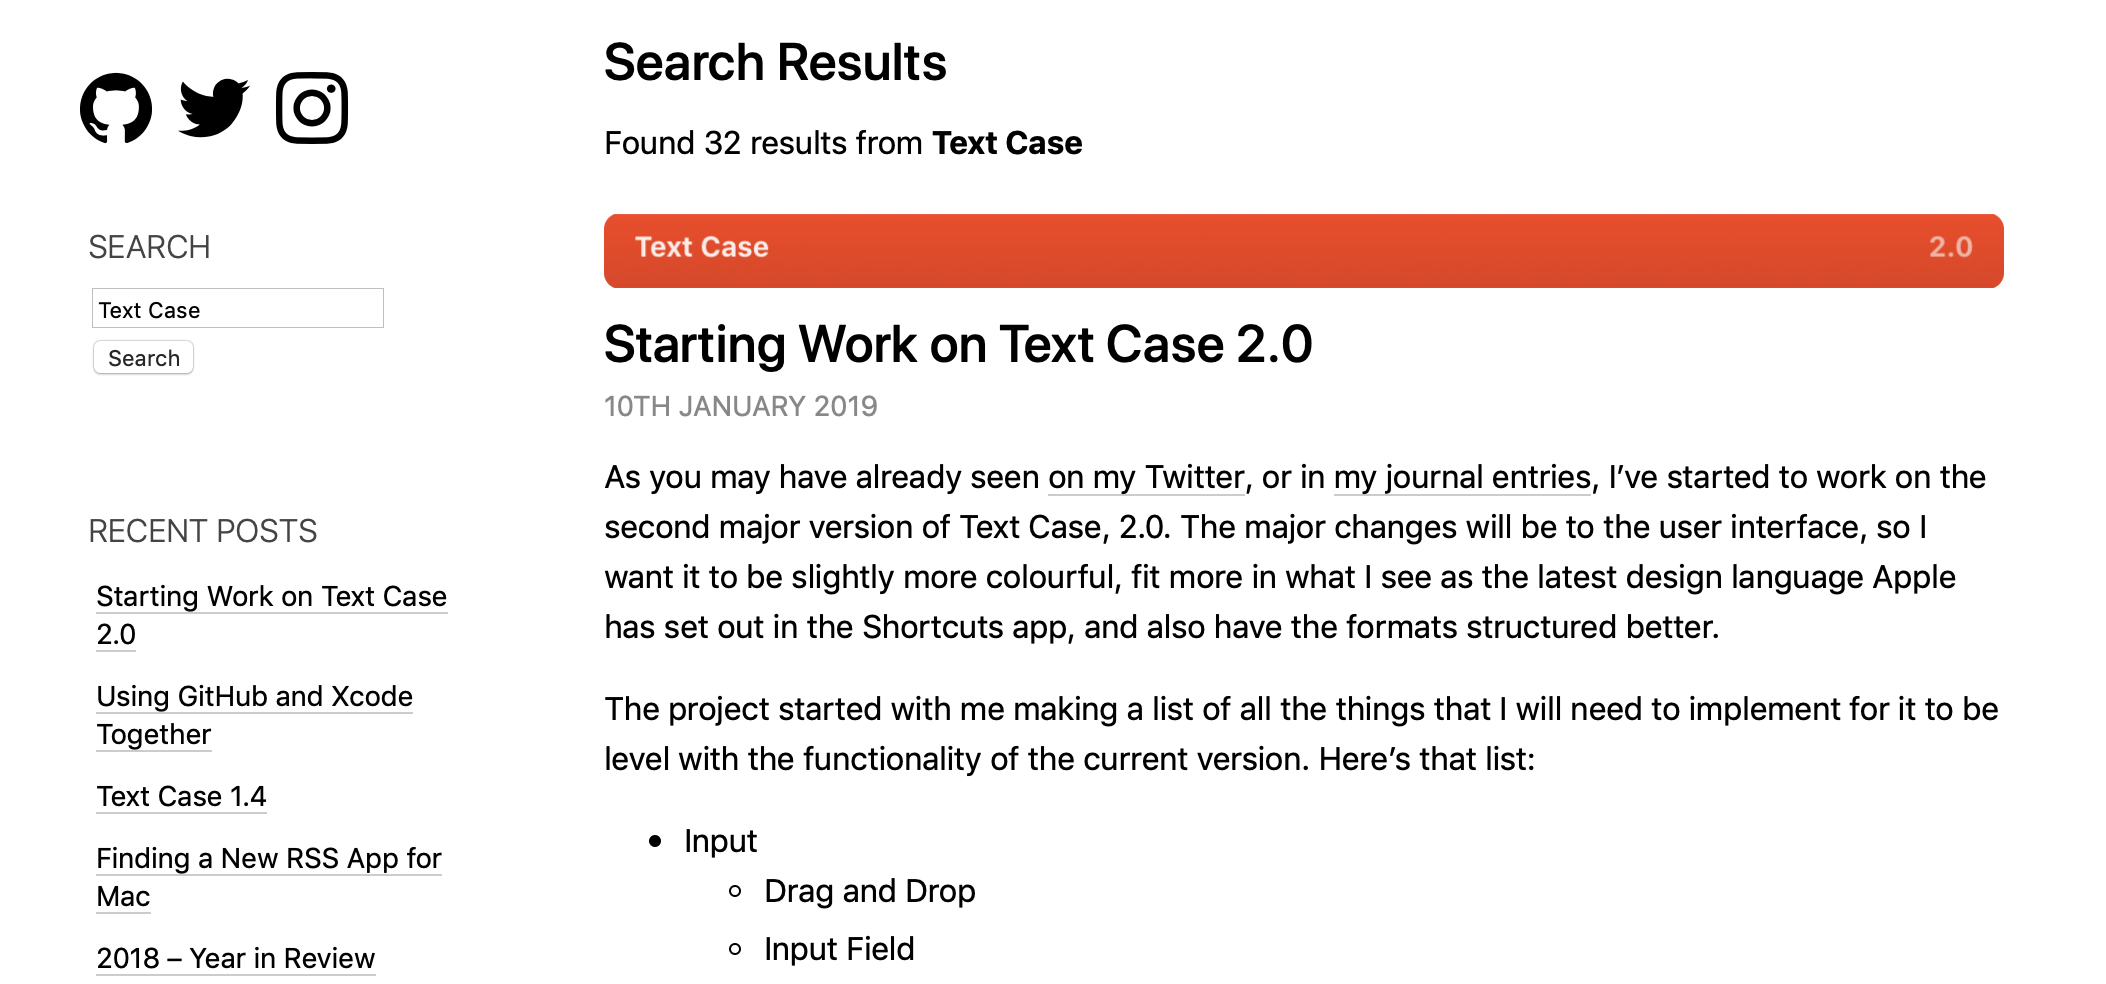
As you may have already seen on my Twitter, or in my journal entries, I’ve started to work on the second major version of Text Case, 2.0. The major changes will be to the user interface, so I want it to be slightly more colourful, fit more in what I see as the latest design language Apple has set out in the Shortcuts app, and also have the formats structured better.
The project started with me making a list of all the things that I will need to implement for it to be level with the functionality of the current version. Here’s that list:
- Input
- Drag and Drop
- Input Field
- Use Copied Text
- From File?
- Keyboard Shortcuts
- Formats List
- Tap to Copy
- Hold to Share
- Siri Shortcuts Support
- Add to Siri
- Shortcuts App
- Backwards Compatibility
- Action Extension
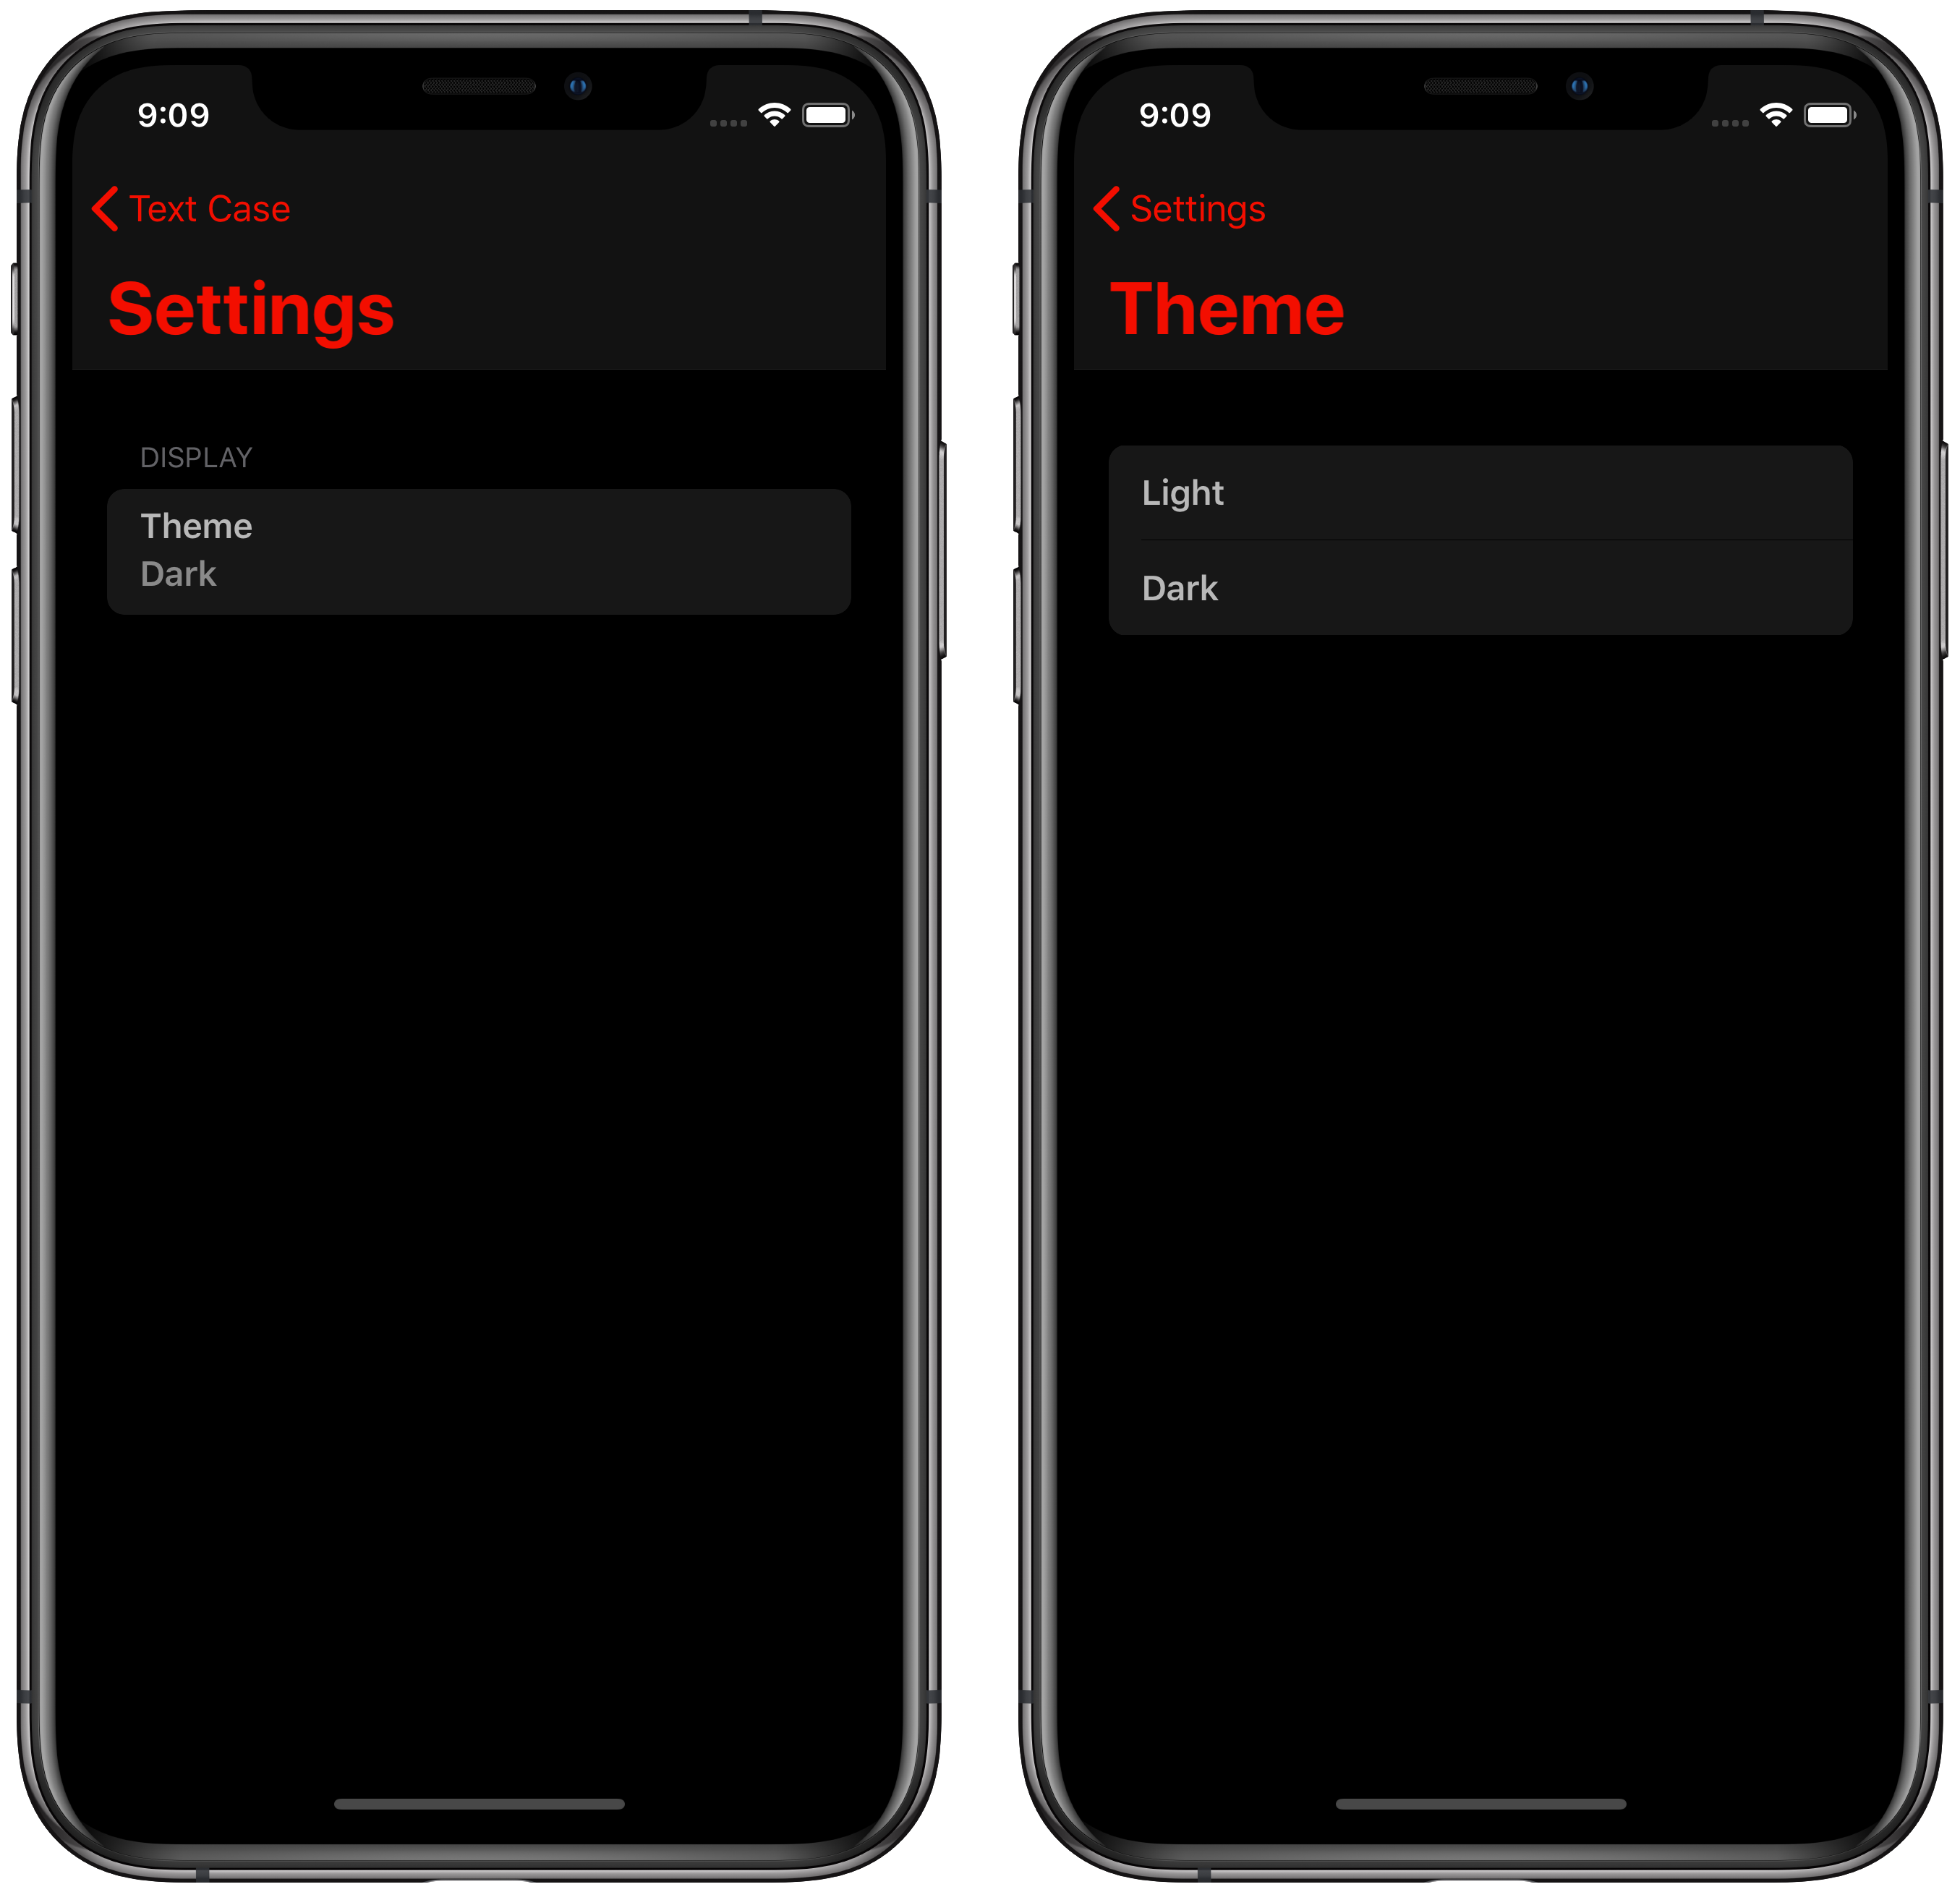
- Settings
- Theme
- Title Case Format
- Reorder Groups
- Enable/Disable Formats
- Custom App Icons
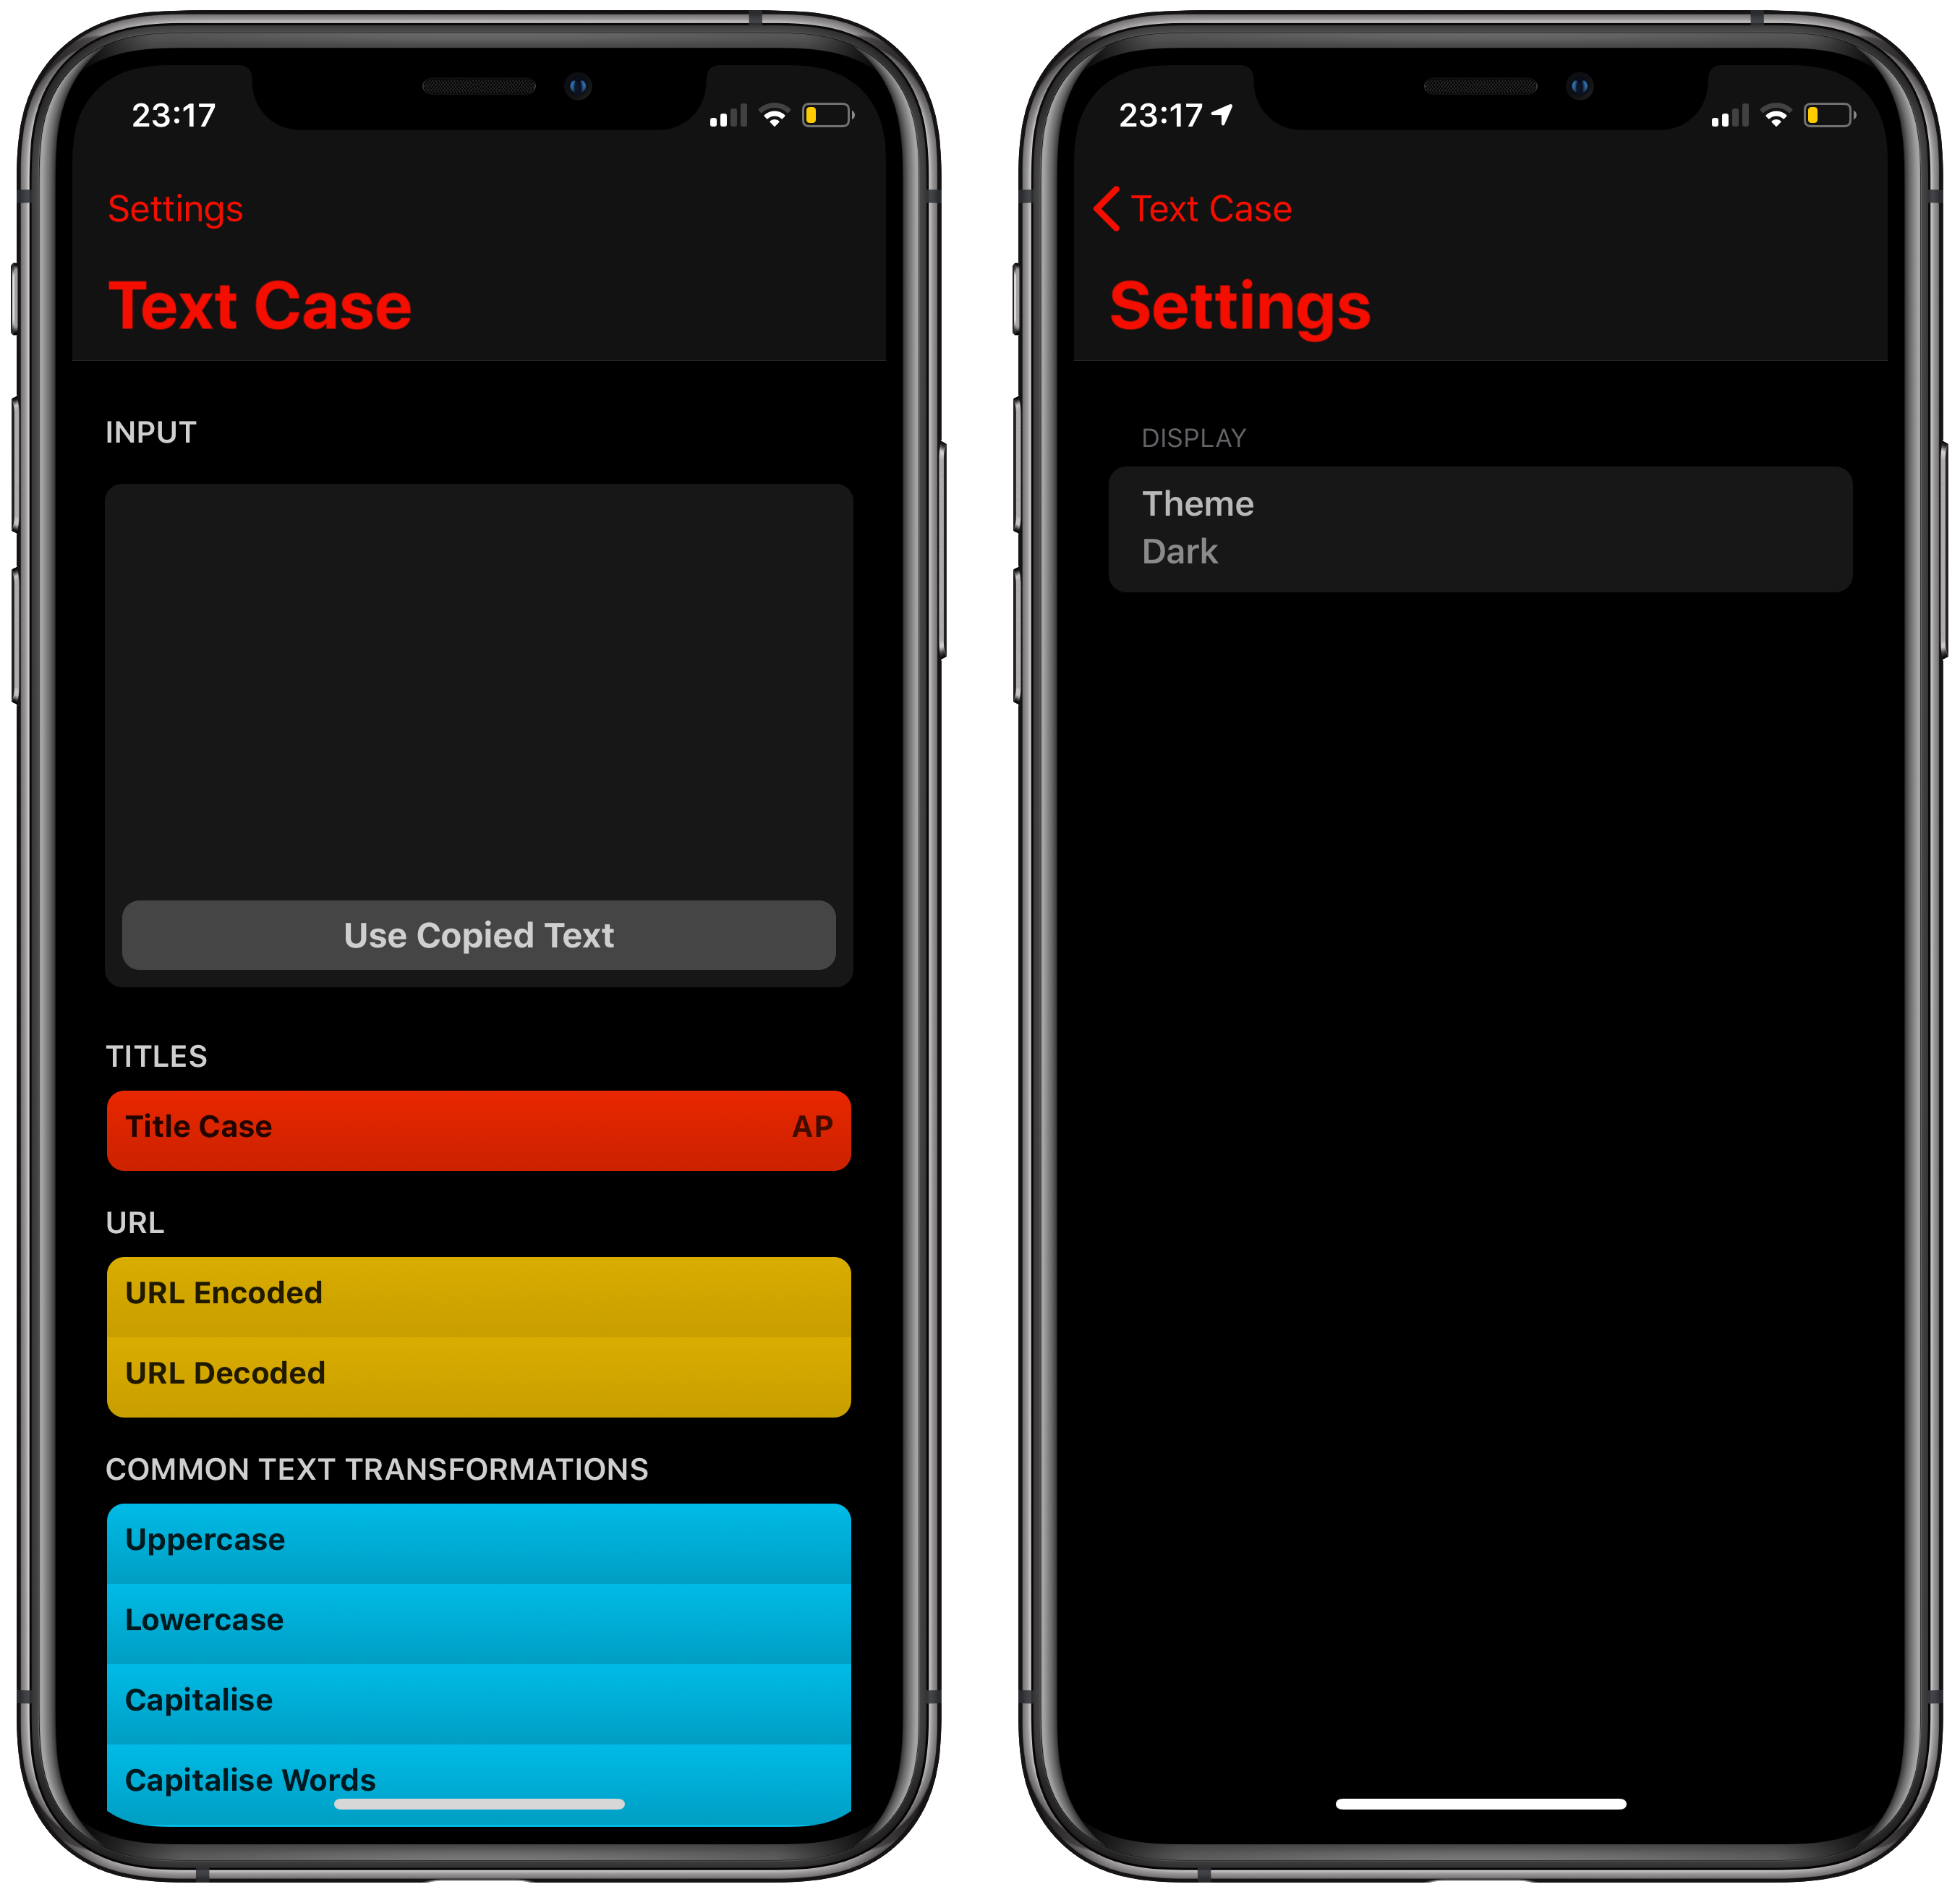
I started working on the most important section of the app, the formats list. Over the past few days I’ve been building up the style similar to the Shortcuts app, so instead of being simple white boxes that contain the formatted text, they’re more colourful and even have a slight gradient to add a bit of depth (I’m planning on experimenting with a small shadow as well).
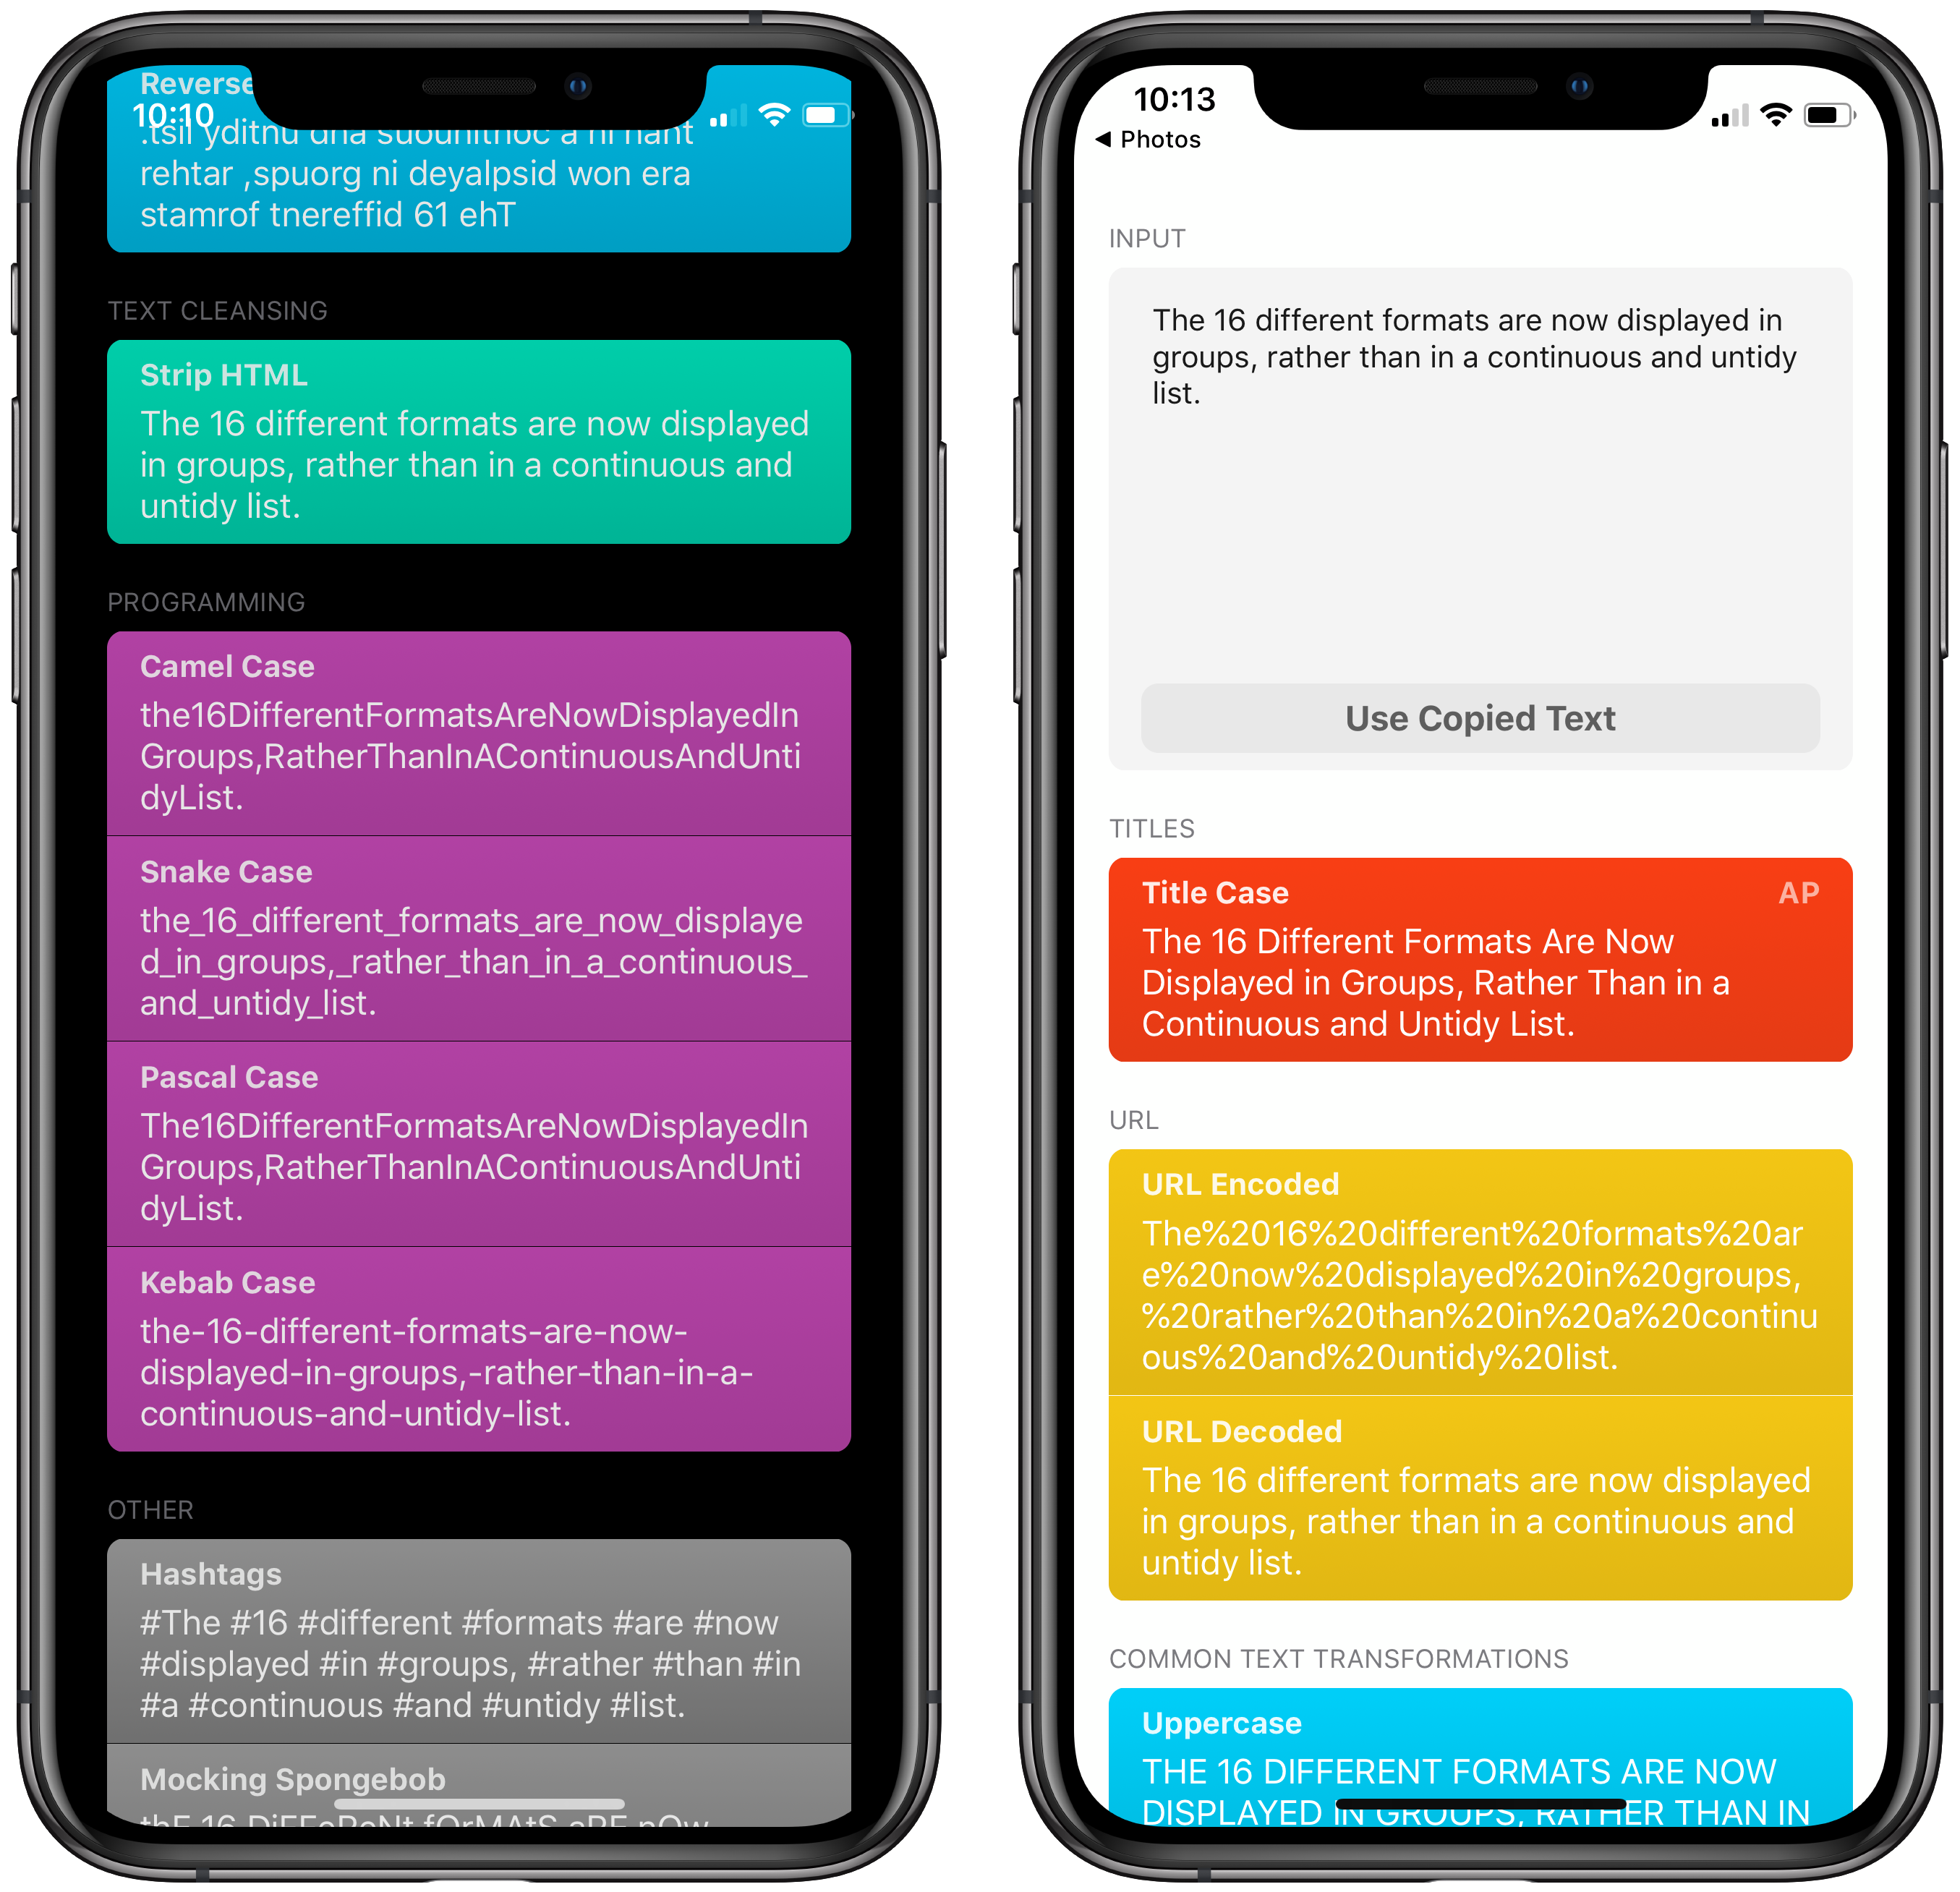
So once the list was working, I added the core logic from the current version and made the formats work. I did adapt it slightly though, as it now groups similar formats together, which I think makes the app look a lot tidier. This change means that when I add the reordering feature, it will most likely me limited to reordering the groups rather than individual formats. You’ll still be able to hide any you don’t want to see though.
Then I added the input field. It’s also a bit cleaner, and fits with the new style. But it has essentially the same capabilities as before. I plan on investigating importing text from a file, and implementing drag and drop, but I think that’s supported automatically.

After I had the list displaying, input working, and the text being formatted, I worked on the interaction with the resulting formatted text. I’ve had a few bits of feedback in the past saying they would appreciate one-touch copying, and now I’ve added it! So you can simply tap any formatted text in the app, and you’ll get a nice alert at the bottom showing the exact text you’ve copied. Or alternatively, you can still tap and hold on formatted text to bring up the contextual actions, which are the same as before, copy and share.
The next step from here will be to start working on the settings section of the app, as that also allows me to test the rest of the app in different scenarios much easier. I’m already planning two changes to the settings in this new version. The first is changing the idea of an accent colour to a theme, as I want the format groups to control the colour. But I also appreciate that a light and dark theme is a minimum. The second change is custom app icons, they may be a basic selection, but the app no longer has a “main colour” so I’d like to give a few options.
If you want to stay up to date with the development of Text Case 2.0, You can find more regular content on my Twitter, brief updates on my journal, and I’ll still post any major progress here.